Getting Started
1
Set Up Your Infrastructure
Prerequisites: You’ll need a CNAP account and access to a machine (VPS, cloud instance, or
local server) where you can run a simple command.
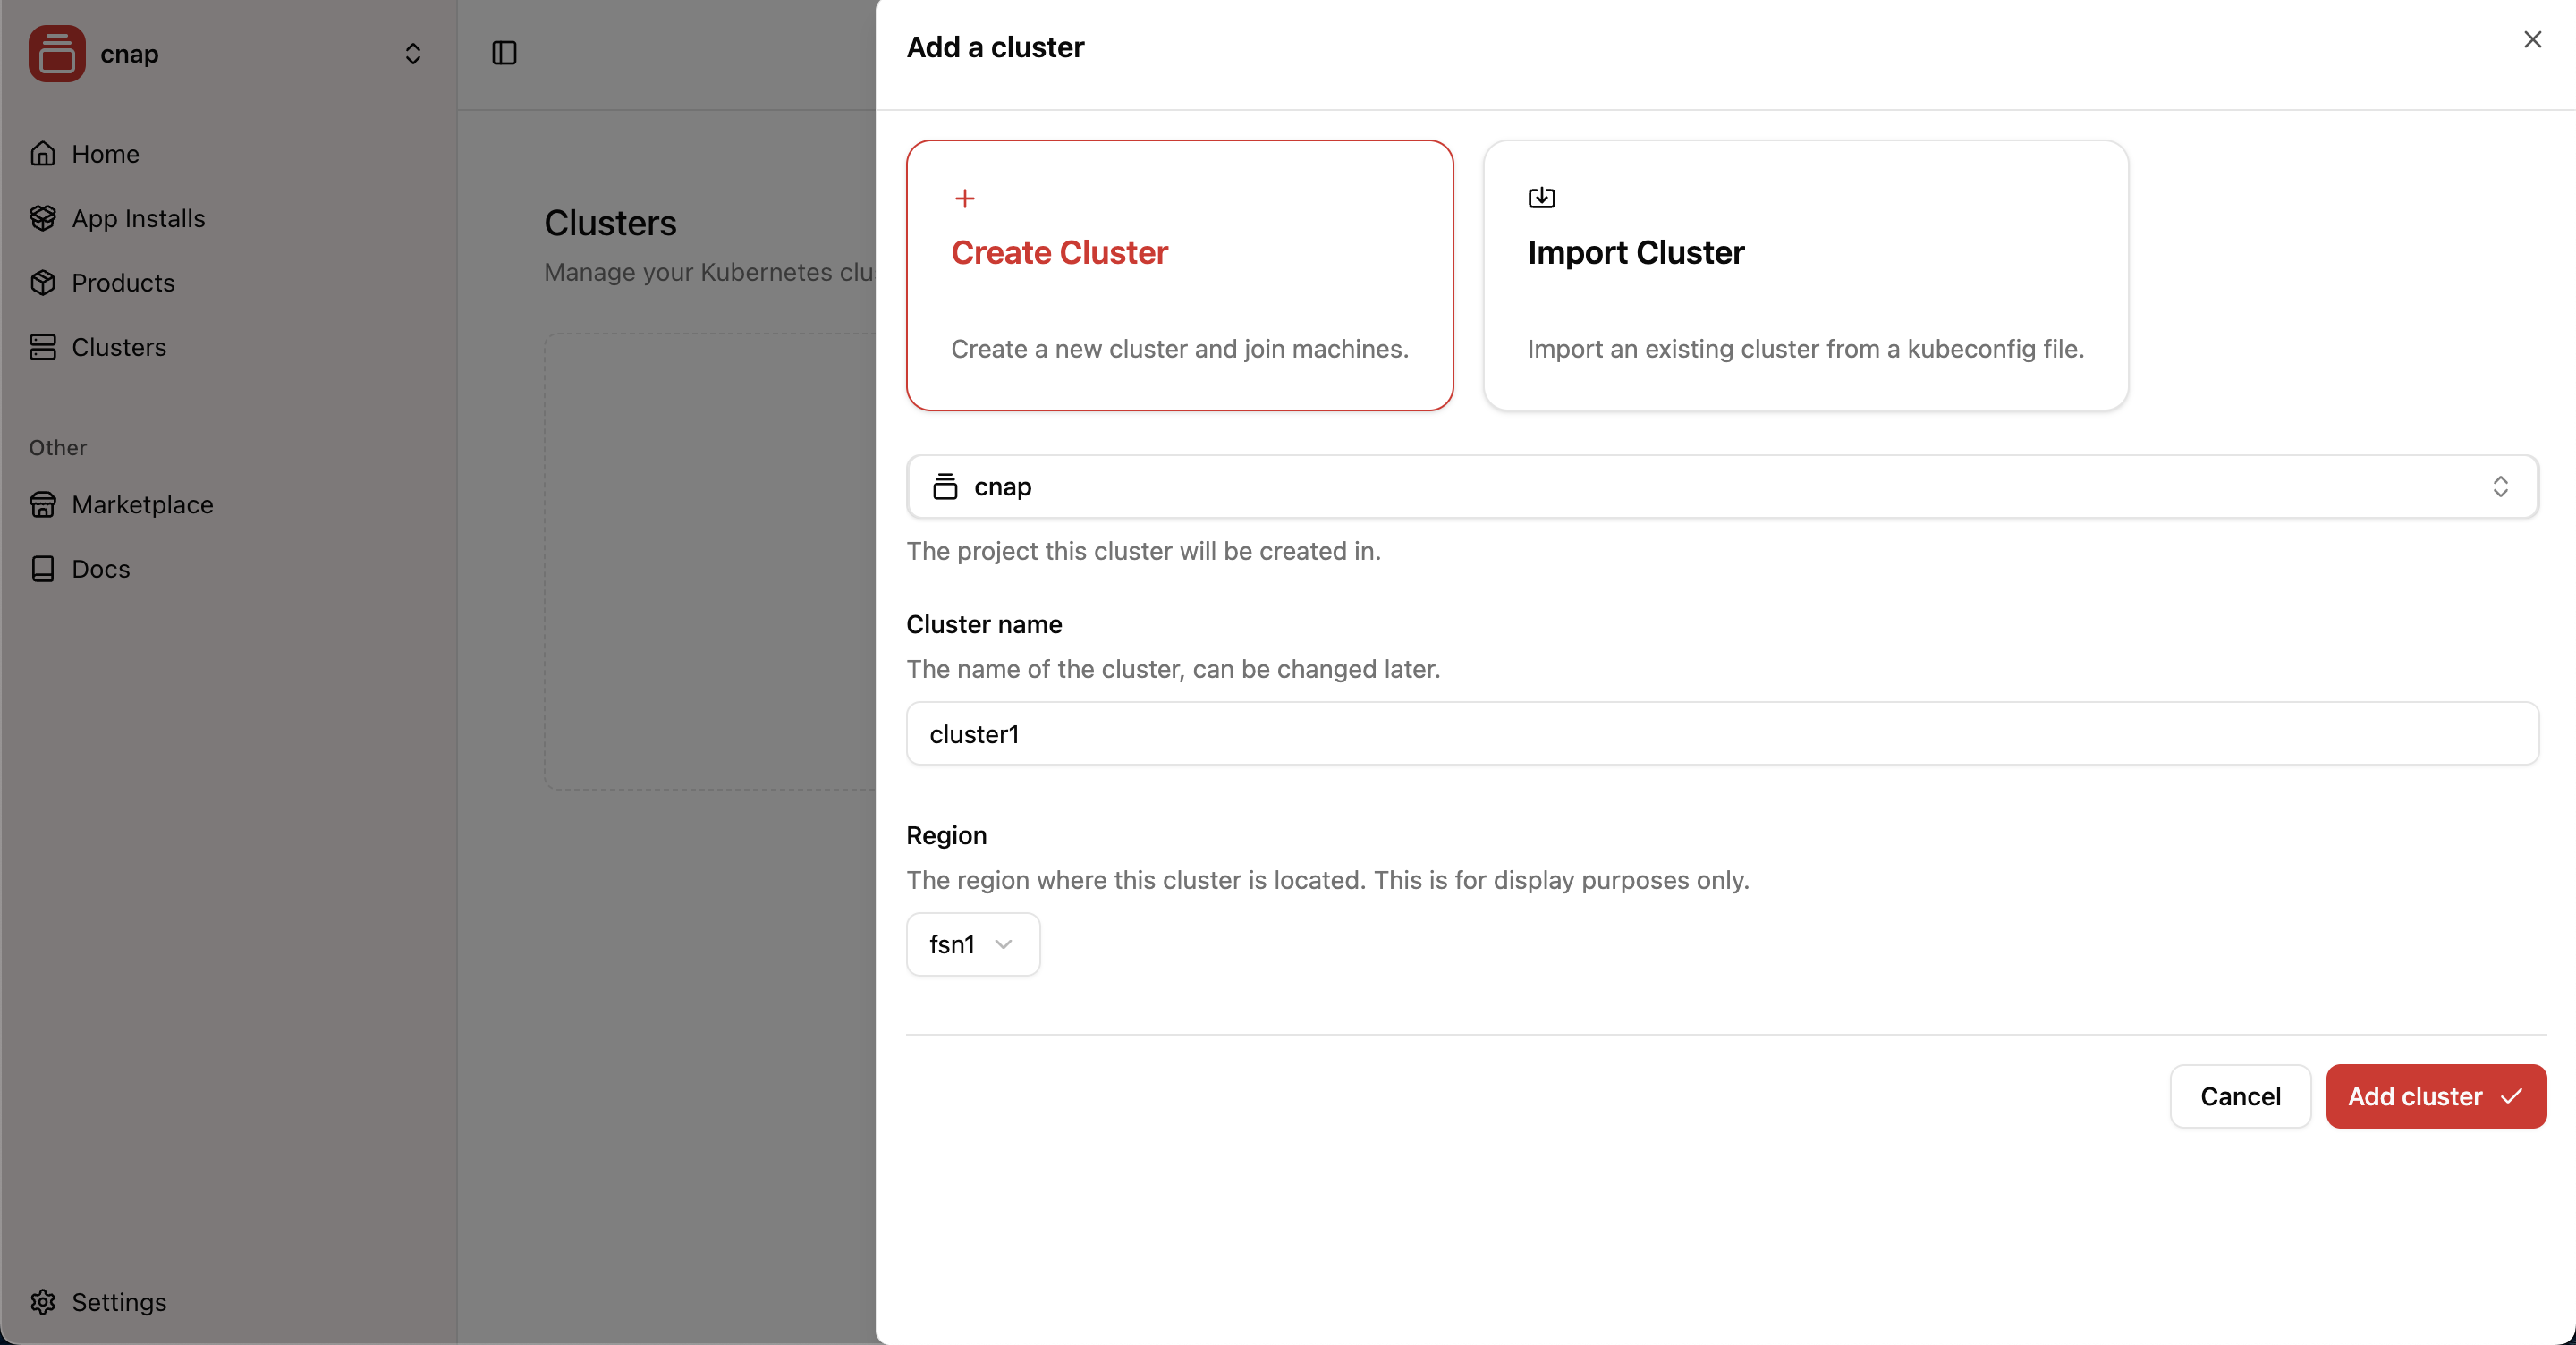
- Navigate to Clusters in your CNAP dashboard
- Click “Add a cluster”
- Choose your region (create a custom name for organizing your infrastructure)
- Click “Add cluster” to create the cluster
2
Connect Your Compute Resources
Now you need to add compute capacity where your products will actually run. This is where your customers’ applications will live.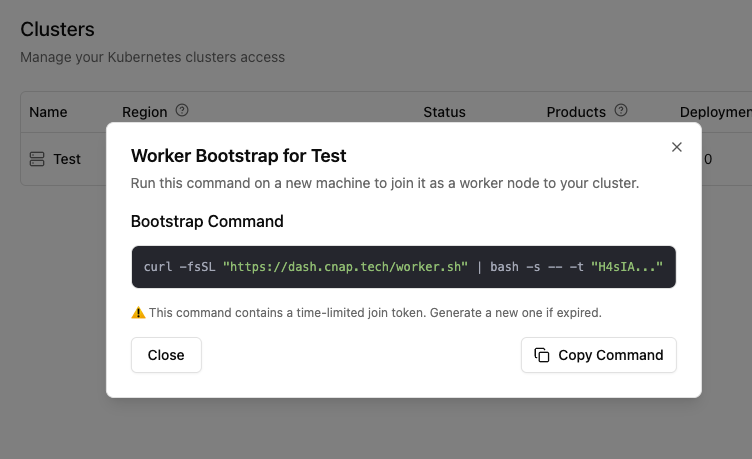

- Click the “Quick Actions” of your active cluster
- Click “Add a worker”
- Copy the bootstrap command
- Get a server - Create a new cloud instance or use an existing machine (minimum: 2 CPU, 4GB RAM)
- Connect to your server using your preferred method
- Run the bootstrap command on your server copied above
Want to test locally first? Use local testing to test worker setups on your local machine for free before buying production servers. Perfect for development and testing scenarios.
3
Create Your First Product
Now it’s time to package your software into a sellable product. This is where you define what customers will buy and deploy.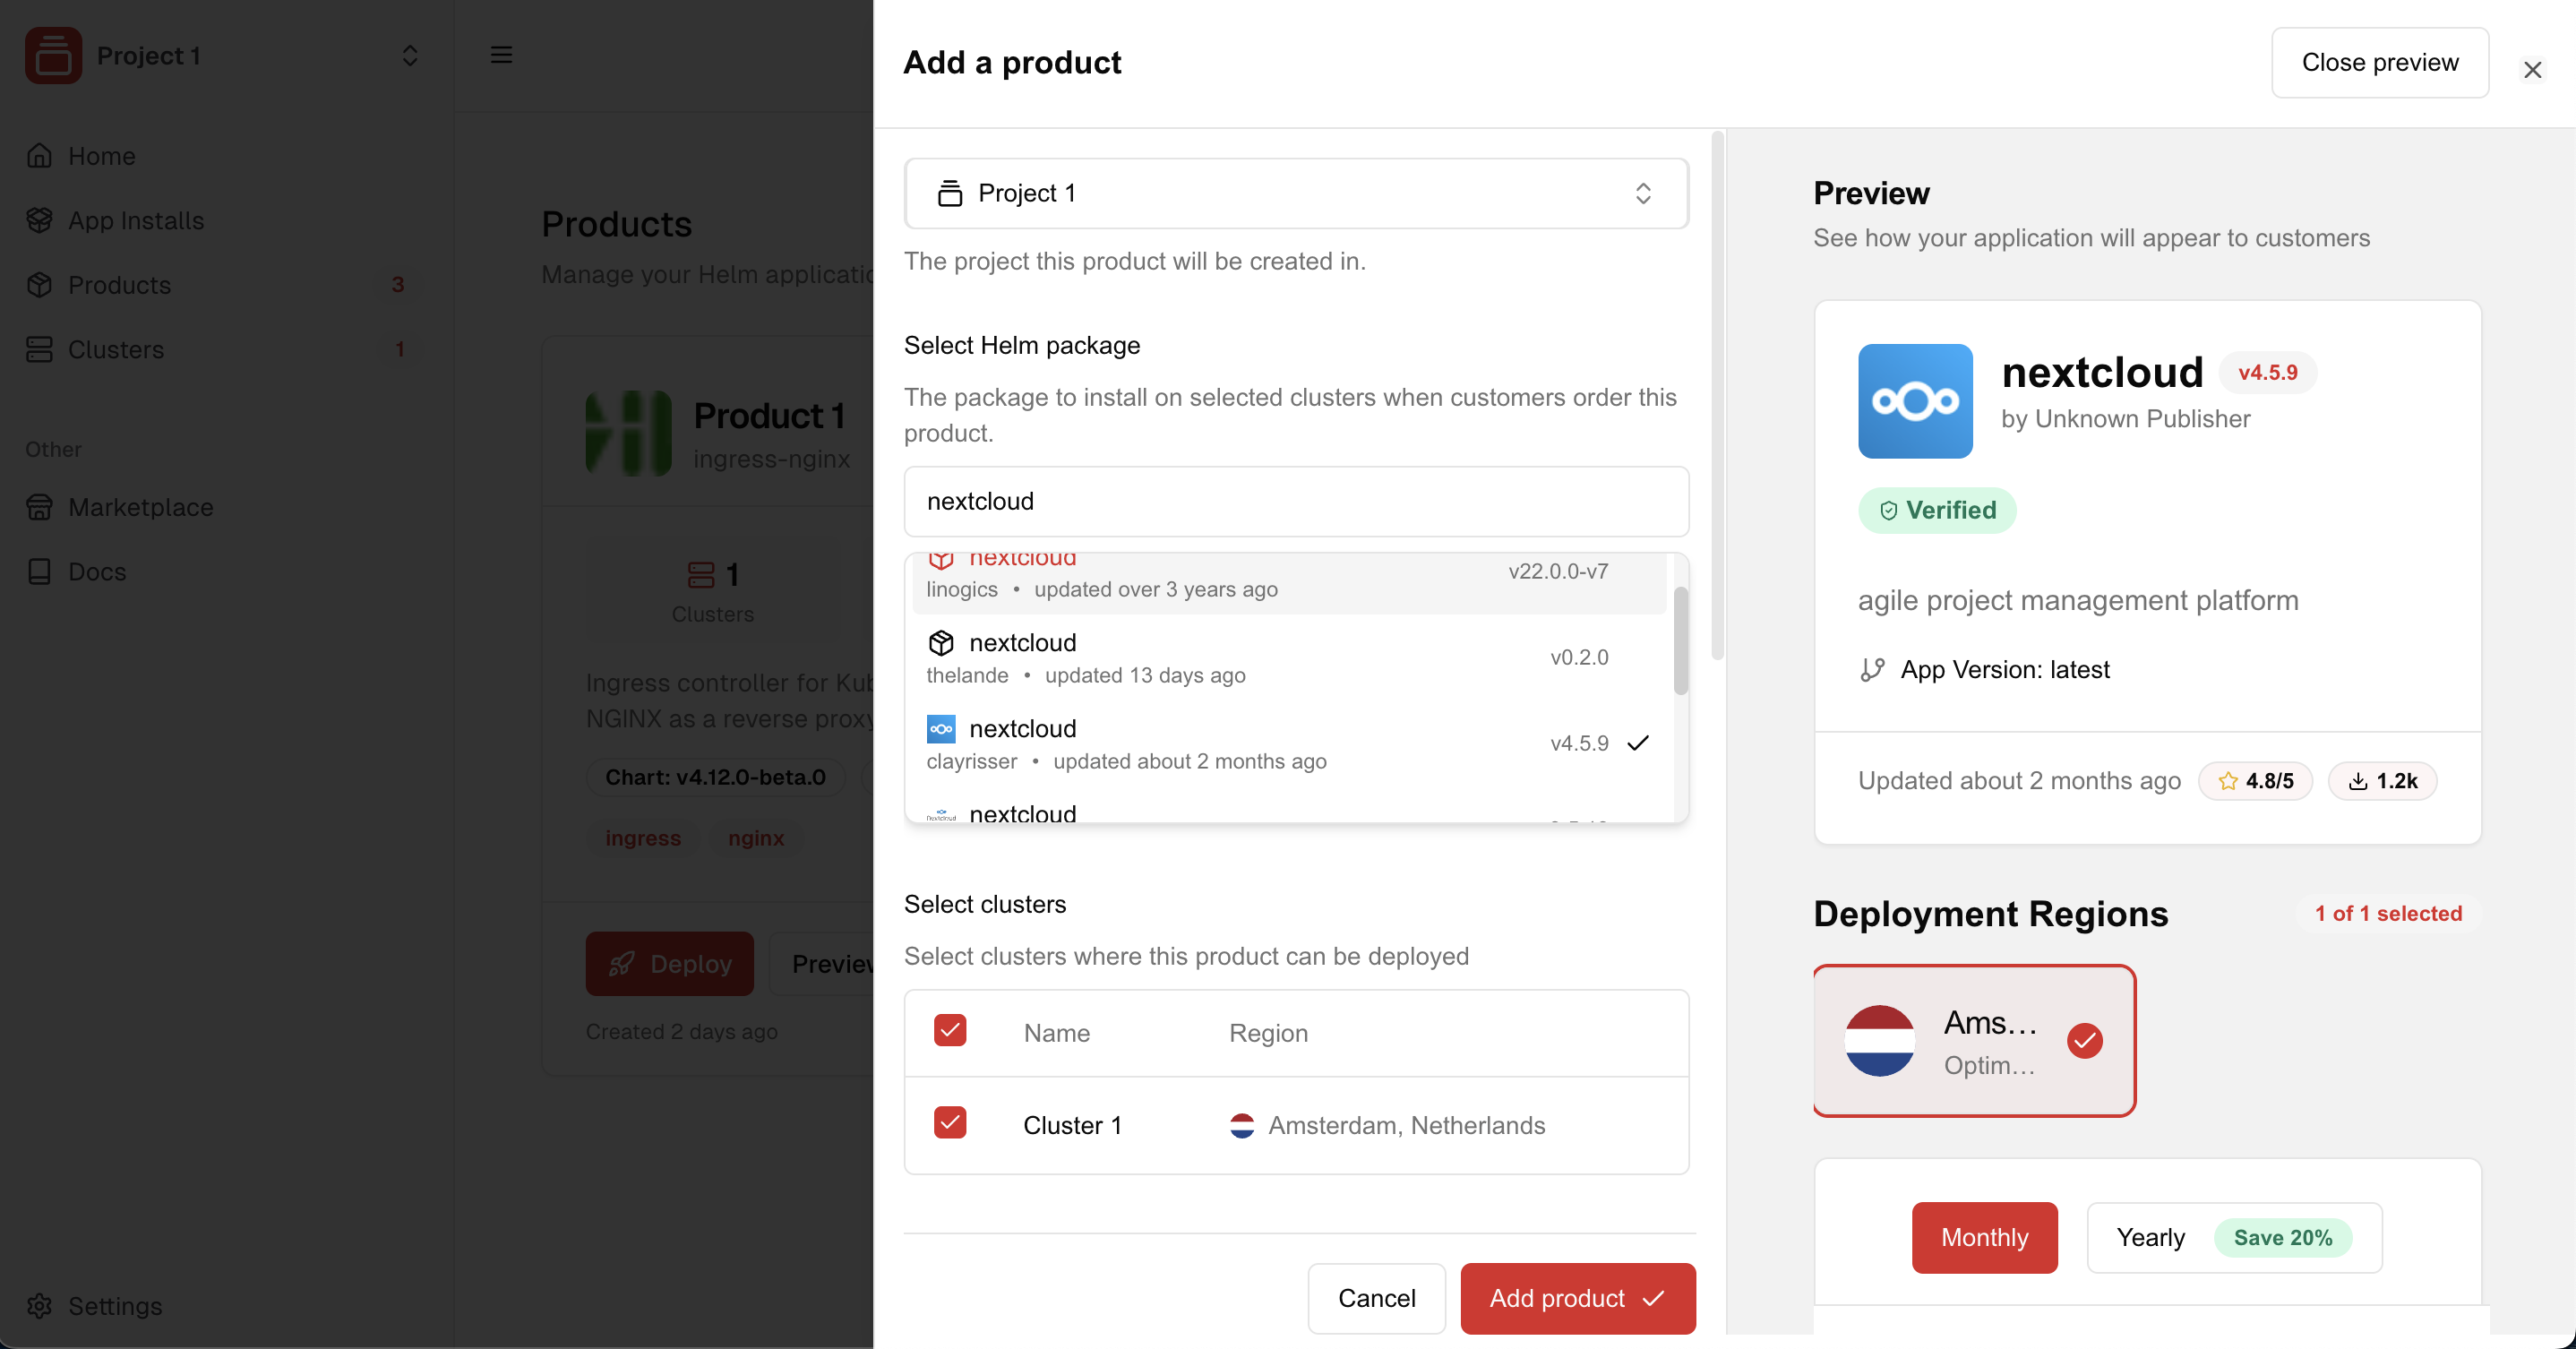
- Navigate to Products in your CNAP dashboard
- Click “Add Product”
- Choose your software - Select a Helm chart from Artifact Hub or use your own
- Select regions - Choose which clusters customers can deploy to (displayed as regions)
- Set up pricing (optional) - Connect with Stripe to charge customers
Coming soon: Support for Helm charts from private Git repositories and OCI registries.
4
Optional: Set Up Pricing
Want to charge customers for your software? Connect with Stripe to enable paid deployments:Click “Add Product” to finish creating your sellable software product.
1
Connect Stripe Account
Go to Settings → Stripe and connect your Stripe account to enable payments.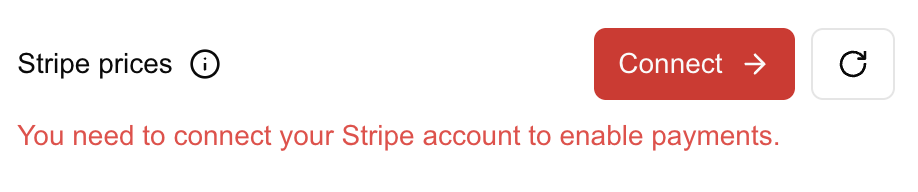
2
Create Pricing in Stripe
In your Stripe dashboard, create products with prices. Examples: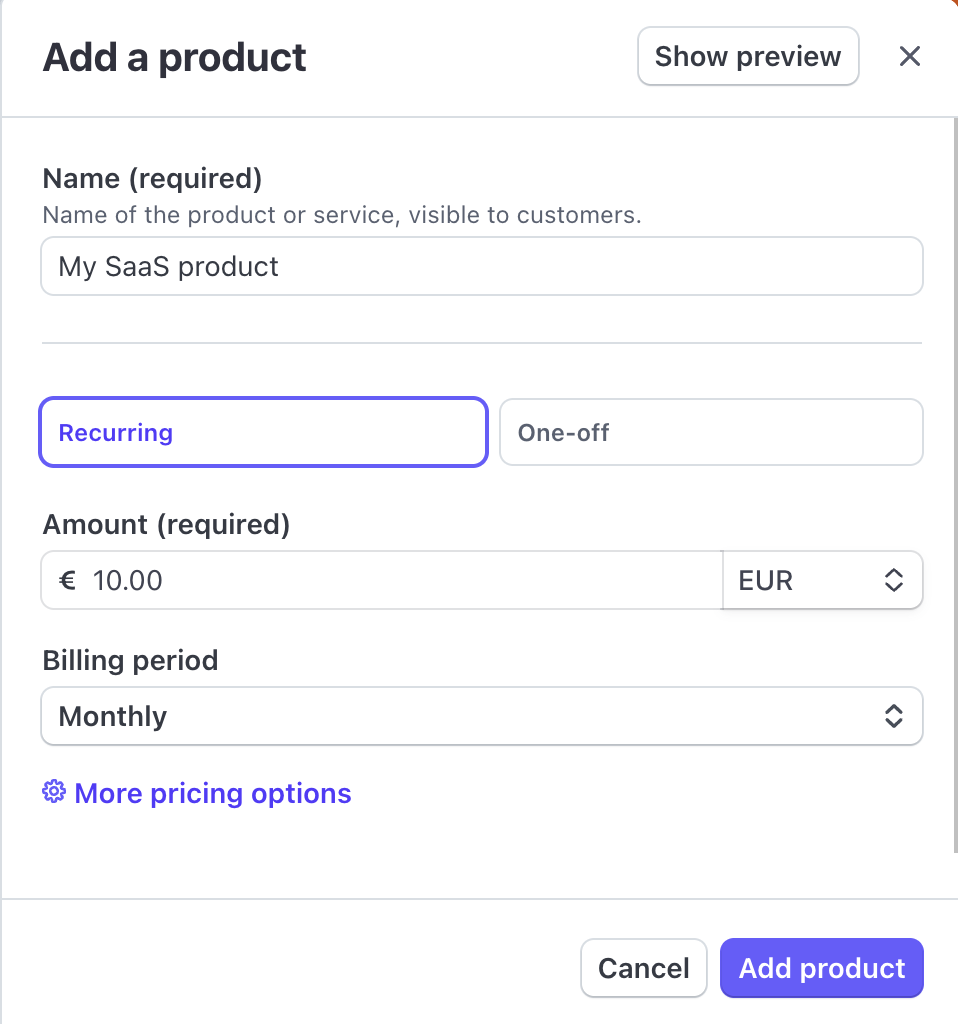
- $10/month - Monthly subscription
- $50 - One-time setup fee
- $5/user/month - Per-seat pricing
3
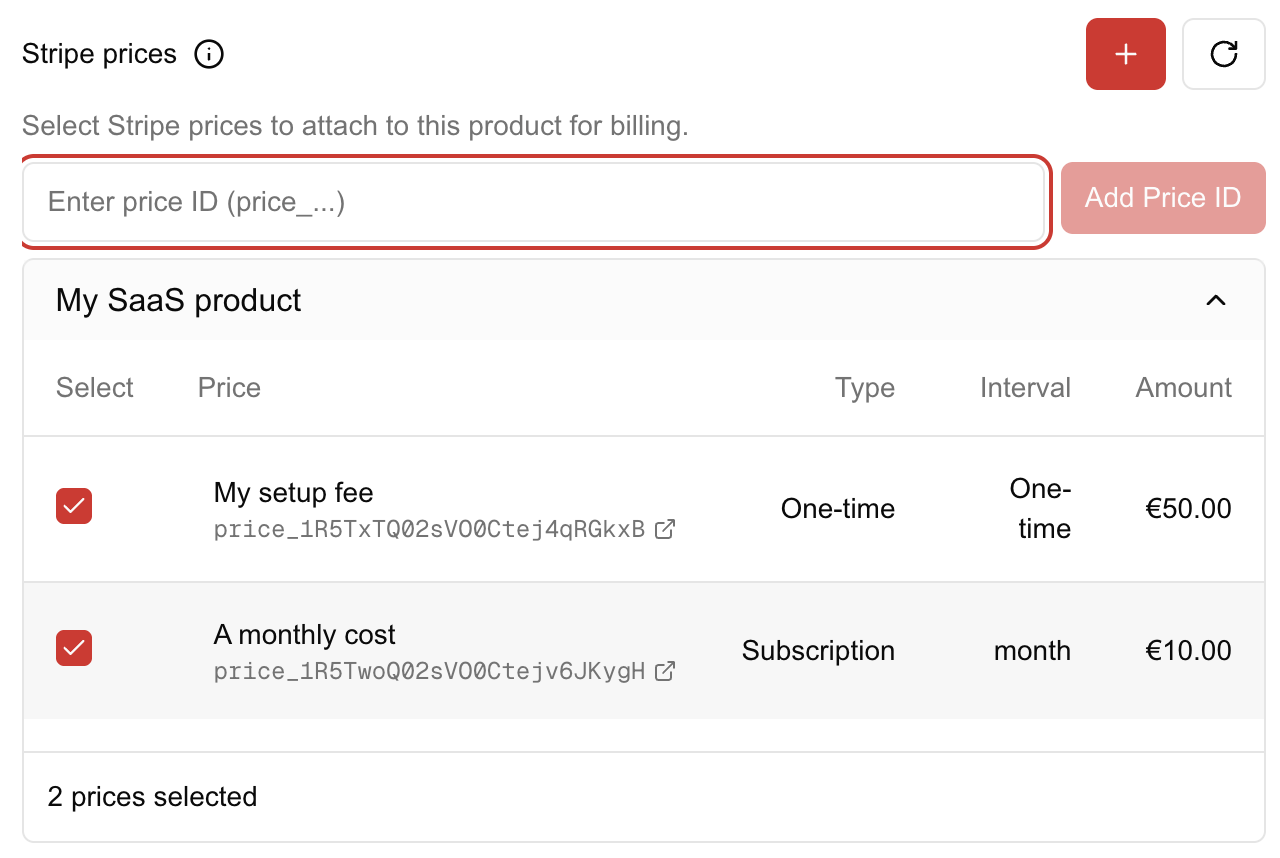
Link Prices to Your Product
Back in CNAP, your Stripe prices will automatically appear. Select which ones apply to this product.