Setting up infrastructure to run your products is the foundation of your CNAP experience. Our managed clusters handle all the complex Kubernetes operations so you can focus on building and selling your software.

Why Choose Managed Clusters?

CNAP’s Kubernetes as a Service (KaaS) provides fully managed infrastructure where we handle the control plane and all worker operations while you maintain control over your infrastructure choices and billing.

Perfect for most users - CNAP handles all the complex operations:

  • Zero operational overhead - We manage the control plane
  • 24/7 monitoring - Proactive issue detection and resolution
  • Security updates - Automatic patches and Kubernetes upgrades
  • Multi-cloud support - Use any provider or mix providers

How to Create Your Cluster
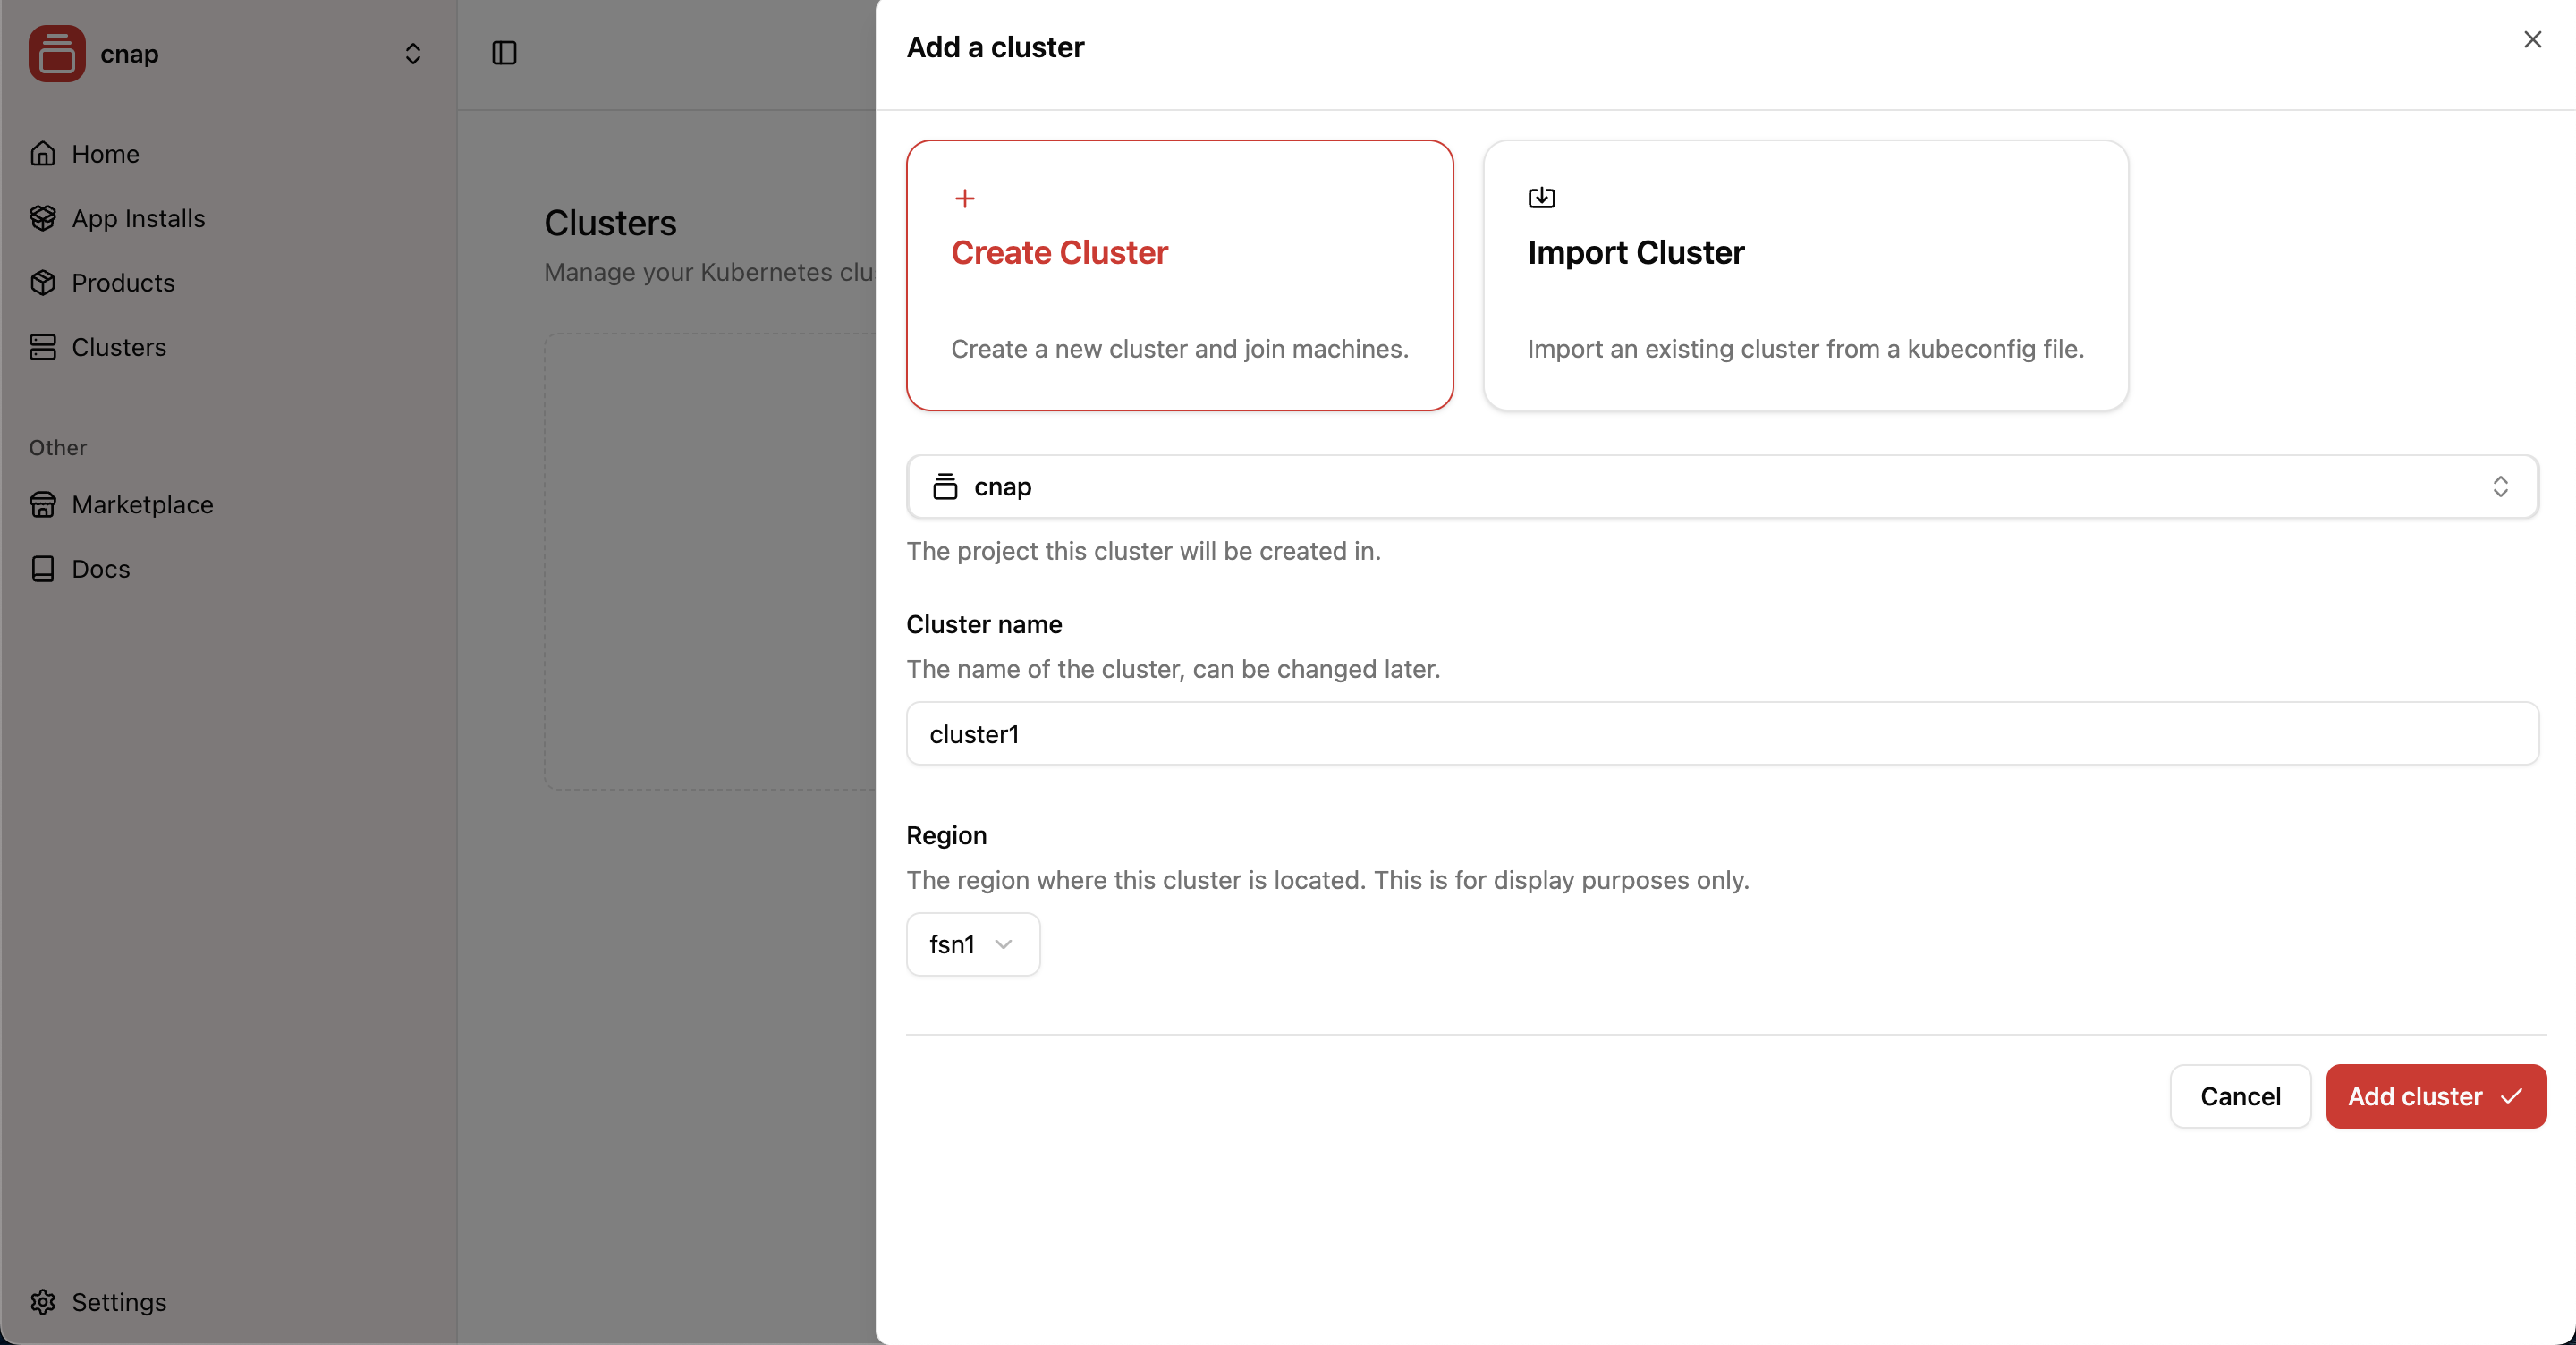
1

Access Cluster Creation

Navigate to the clusters section in your CNAP dashboard and click “Create Cluster”.

2

Choose Your Region

Create or select a region name for organizing your clusters. Regions are custom labels you define to help organize your infrastructure and will be shown to customers when they purchase your products.

Region names are flexible and can be changed anytime. Use descriptive names that make sense for your business, such as “Production”, “US-East”, “Europe”, or “Development”.

Examples:

  • Production - Your main customer-facing infrastructure
  • Staging - Testing and development environment
  • US-East - Geographic indicator for customer selection
  • Europe - Regional deployment for EU customers
3

Configure Cluster Settings

Choose your cluster configuration:

  • Cluster name - A descriptive name for your infrastructure
  • Kubernetes version - Latest stable version (recommended)
  • High availability - Multi-zone control plane for production workloads
4

Deploy Your Cluster

Click “Create” to provision your cluster. The control plane will be ready in 2-3 minutes.

Adding Worker Capacity

Once your cluster is created, you need to add compute capacity where your products will run. You have two options:

Option 1: Self-Onboarded Workers

Bring your own machines - Maximum flexibility

  • Use any cloud provider or bare metal
  • Connect via SSH - we handle the Kubernetes setup
  • Mix different providers as needed
  • Full control over your infrastructure choices

Option 2: Cloud API Integration (Coming Soon)

Planned automated provisioning - Industry-leading cloud providers

  • We’ll create and manage machines automatically
  • You’ll pay providers directly (no markup)
  • Easy scaling and management
  • Perfect for getting started quickly

Getting the Worker Setup Command

After your cluster is active:

  1. Click on your cluster in the dashboard
  2. Find the “Quick Actions” section
  3. Copy the worker setup command

The command looks like:

curl -sSL https://workers.cnap.tech/join | sudo bash -s -- --token=your-cluster-token

Keep this command secure - it provides access to join your cluster. Regenerate the token if it’s ever compromised.

Connecting Your First Worker

1

Get a Server

Create or access an Ubuntu/Debian server:

  • Minimum specs: 2 CPU, 4GB RAM
  • Recommended: 4 CPU, 8GB RAM for production
  • Operating system: Ubuntu 22.04 LTS (recommended)
2

SSH Into Your Server

ssh root@your-server-ip
3

Run the Setup Command

Execute the command you copied from the dashboard:

curl -sSL https://workers.cnap.tech/join | sudo bash -s -- --token=your-cluster-token

The script will automatically:

  • Install Docker and Kubernetes components
  • Configure networking and security
  • Join the worker to your cluster
  • Set up monitoring and logging
4

Verify Connection

Your worker will appear in the dashboard within 1-2 minutes as “Active”. You can now start deploying products!

What’s Next?

With your cluster ready and workers connected, you can:

Troubleshooting

Pro tip: Start with one worker and add more as your customer base grows. CNAP makes it easy to scale your infrastructure without any downtime.